
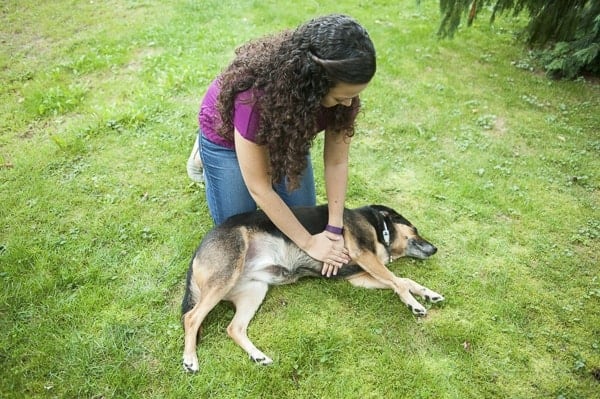
On the last article, we already discuss of a guideline how to perform CPR on a dog. Today, we would like to introduce the easy steps of CPR on a dog. The “ABC” steps below can give you the ability to recall the best way to perform canine CPR in a case of a crisis. To be able to perform these processes accurately, they should be discussed by owners using their veterinarian in advance, so they are prepared in case a crisis happens. DON’T practice CPR on creatures that are healthy, as it often leads to serious injuries, including broken bones along with a collapsed lung.
Steps 1: A for Airway
Lightly open the dog’s mouth, pull out the tongue, and attempt to ascertain whether the dog is breathing. If the dog is gradually straightened out by possible ’s neck and head. However, don’t extend out the neck or additional harm can be caused by you. Consider the dog’s torso for just about any hint of respiration, or hold your hand to find out if you can sense any signals of respiration or breathing.
 When you’re certain the dog isn’t breathing, perform mouth-to-snout. Hold the dog’s mouth shut, cup your hand across the dog’s nose, and attempt breathing two breaths right to the dog’s snout. In the event, the breaths go in carry on to Step 2.
The dog’s mouth open and check for just about any visible thing that’s put in the dog’s throat. While you make an effort to take out the item when an item is an observable press softly on the dog’s throat within an upward movement. Perform the Canine Heimlich Maneuver if no item is observable. Don’t go before the dog continues to be cleared to Step 2.
Steps 2: B for Breathing
 In the event the dog’s lungs are gone to by the breaths in Step 1, continue the mouth-to-snout process. Should you be performing CPR on a dog that is sizable use your total lung capacity. Should you be performing CPR on a dog that is little use shorter breaths.
With this procedure, be certain that the hand is comfortable across the dog’s muzzle and make an effort to blow the atmosphere right to the dog’s nose. Never drive air to the dog’s nose. Instead, breathe in a speed of time, and pressure to the dog’s nose, which you would typically exhale.
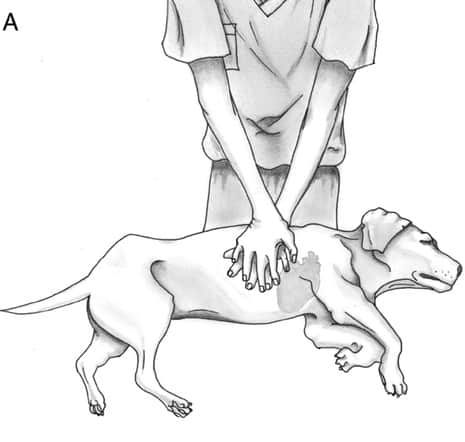
Steps 3: C for Circulation
Once the B and A ’s happen to be created, assess the dog’s femoral artery to get a beat, or put your hand on the top left side of the dog’s torso to see if you’re able to sense a heartbeat.
First, put the dog and after that find the midsection of the dog’s torso that is where the rib cage touches. This place is where the compressions should occur.
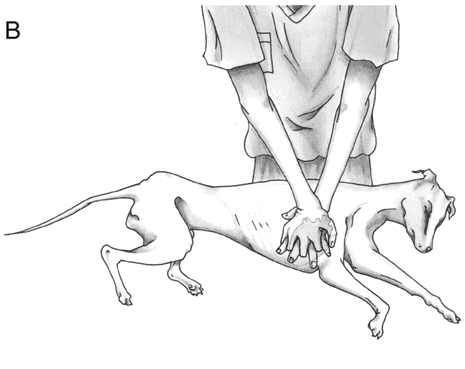
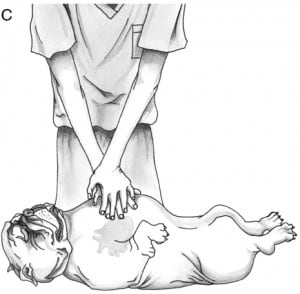
For little dogs less or 16 pounds, forefinger and the thumb can be utilized to compress both sides of the torso. For dogs that are bigger, utilize a palm overhand way of compressions.
The speed of respiration and compressions is essential for the CPR to function correctly. After 15 compressions that were rapid two breaths ought to be performed.
If no stomach harm is possible, the dog’s abdomen can be lightly pressed on by another man as the torso compression is released. The measure known as interposed abdominal compression, this additional CPR, can help return the flow of blood to one’s heart.
Duplicate the CPR as required and occasionally check in the dog for just about any signals of respiration or heartbeat. Just cease compressions when you do not quit breaths before the dog, and feel a pulse or heartbeat begins breathing alone.
